Boda Games Tutorials: Set Up Box
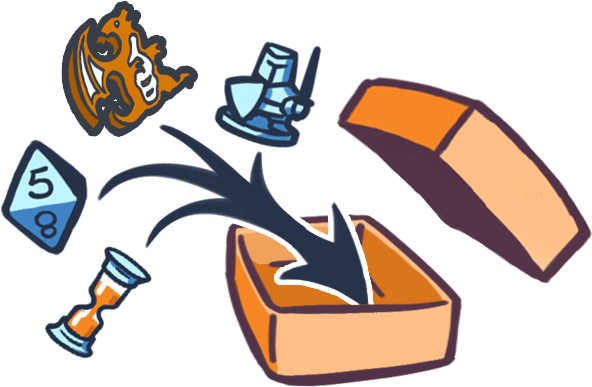
Set up box: the board game component to hold all other components! It is also often referred to as a two piece game box. Or a telescoping box. But once you see it, you know exactly what we are talking about. Comprised of a bottom and a lid, it is the box that holds all the game components. While there are other packaging options out there for board games. The set up box is by far the most popular choice for board games. Whether they are small or big. And let’s face it, few things are as enjoyable as the first time you pull the lid off a game box.
But set up boxes aren’t the easiest component to make. There are a lot of things to keep in mind when designing a set up box. Not to worry, Boda Games is here to help. With our template generator, we’re making it easier than ever. Just put in the sizes of your set up box. And our template generator will create custom sized templates for you. Showing you the bleed, margin and all the other things you need to check. With this, your files will be ready for printing!
Using the Boda Games Template Generator to make a Set Up Box
Step 1: Go to the Boda Games Template Generator website.
Step 2: Choose the type of template you want to generate, in this case: Set up box.
Step 3: Choose which metric unit you want to use: millimetres or inches.
Step 4: You can also use a predefined size, used by some other well known games.
Step 5: Or, you can choose to input your own measurements.
Step 6: Input the sizes, the system accepts up to two decimal numbers.
Step 7: Then select the thickness of the cardboard for your game box.
Step 8: Click “Generate Template”.
Step 9: On most modern browsers a new tab will open, showing the newly generated pdf file; click the download icon.
Open Photoshop
Step 10: Using Photoshop, go to the location of your file and open it.
Step 11: Select the first 2 pages of the PDF.
TIP – We recommend changing the color mode to CMYK during this step to avoid future problems with color management.
Step 12: Pressing “shift” you can select both template parts: one for the top and one for the bottom of the box. They will open in different tabs.
Step 13: You can start using the new document.
Step 14: Either add guides that match the lines in the file. Or keep the template in a layer above as a reference.
TIP- We recommend changing the layer blending mode to “multiply”.
Step 15: First, save one of the two files as a photoshop document.
Step 16: Make sure you check the “layers” options. And assign a color profile to the document.
Step 17: Then, save the other files as a Photoshop document as well.
We’ve also made a video where we show you exactly how to use the Boda Games set up box template generator. You can find it below, or on our Youtube Channel.
Latest posts
October 15, 2025
This year, the European Union has introduced the General Safety and Performance Requirements (GSPR). The purpose of this is to [...]
October 15, 2025
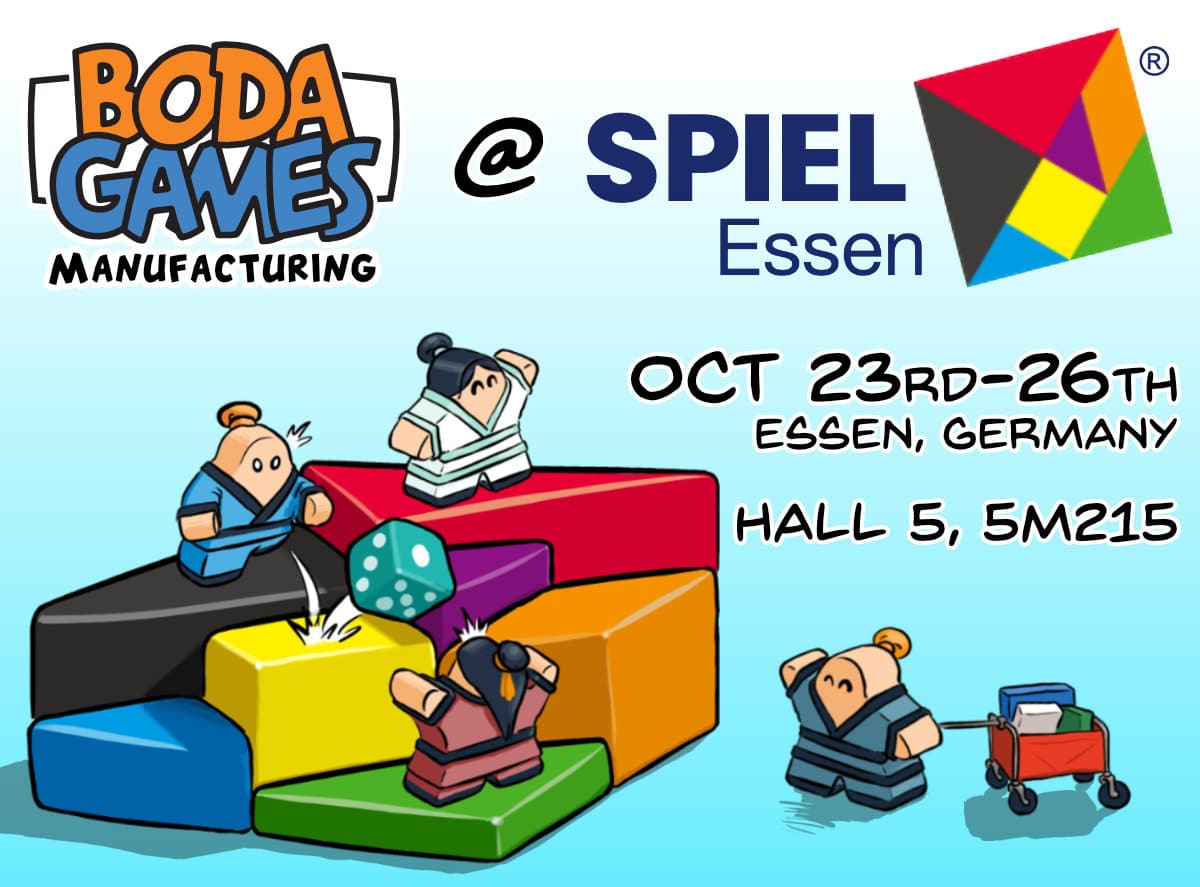
Essen Spiel 2025 is just around the corner, and we couldn’t be more excited to take part once again. As [...]
July 9, 2025
Boda Games at Gen Con 2025: Three Booths, One Mission — Helping You Make Better Games We are once again [...]
July 9, 2025
We’re very excited to be hosting for the first time a signing event at the Boda Games booth this Gencon. [...]


 Request a quote